Want beautiful Karwa Chauth mehndi but don’t know how to draw complicated designs?
You don’t need advanced mehndi skills or a professional artist to create a festive look. With fresh natural henna, a beginner-friendly henna kit, and stencils, you can create beautiful Karwa Chauth mehndi right at home.
Here’s how to get started.
Step 1: Choose Your Karwa Chauth Henna Kit
Start with a henna kit that includes everything you need for an easy DIY application.
Look for:
- Fresh natural henna cones
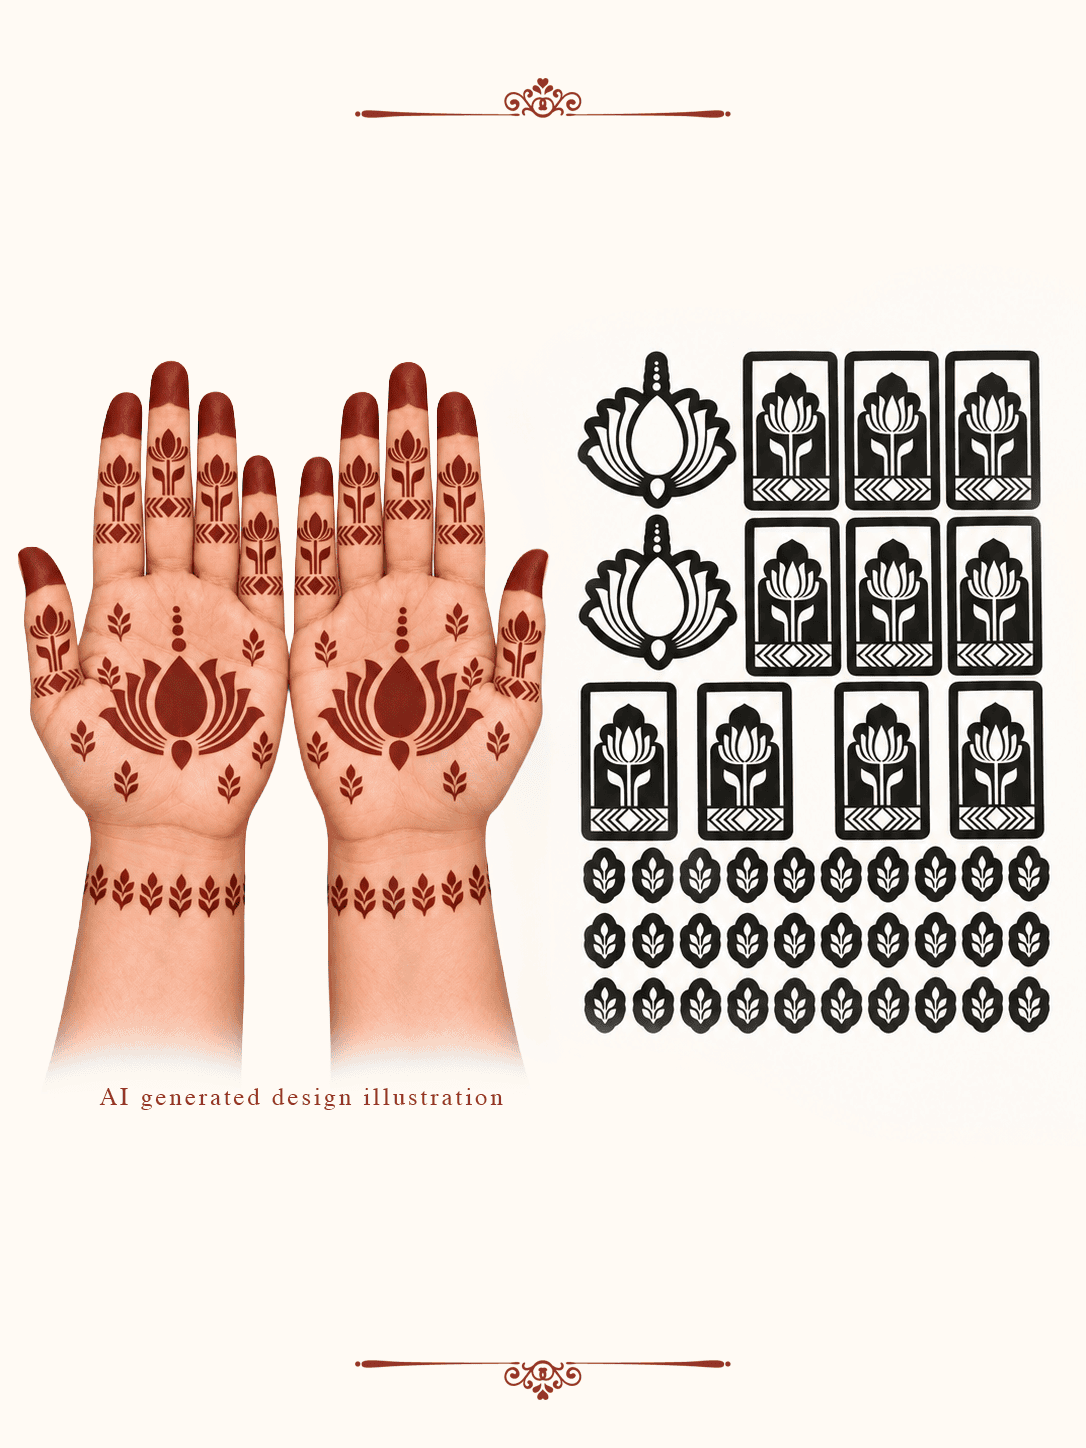
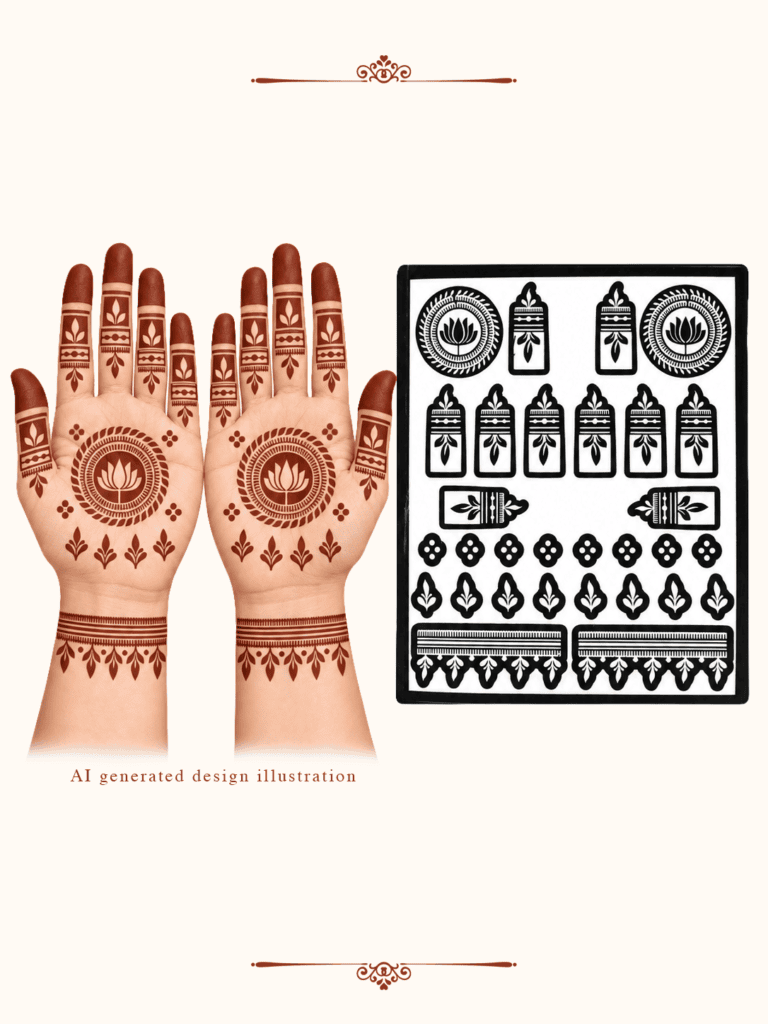
- Karwa Chauth or festive stencil designs
- Application accessories
- Sealant or aftercare products
- Simple instructions
A complete kit means you don’t have to purchase every item separately.
Step 2: Prepare Your Skin
Before applying henna, make sure your hands are clean and dry.
Quick checklist:
- Wash your hands
- Dry them completely
- Avoid applying heavy lotion or oil
- Choose a comfortable place to sit
- Keep your design and henna cone ready
Clean, product-free skin provides a good starting point for henna application.
Step 3: Pick Your Stencil Design
This is where DIY mehndi becomes beginner-friendly.
Choose a design that matches your style- minimal, floral, traditional, or more detailed.
Position the stencil carefully on your hand and make sure it stays in place before applying the henna.
Beginner tip: Start with a smaller design if this is your first time using henna.
Step 4: Apply the Henna
Once your stencil is positioned, carefully apply the henna through the design.
Don’t rush.
Follow the shape of the stencil and apply a consistent amount of henna. If you’re new to mehndi, practice controlling the cone on paper first.
The goal isn’t perfection – it’s enjoying the process.
Step 5: Let Your Mehndi Dry
Allow the henna paste to dry properly according to the instructions provided with your henna.
Avoid touching or smudging the design while it is drying.
This is a great time to relax, watch a movie, chat with friends, or continue getting ready for your Karwa Chauth celebration.
Step 6: Remove the Dried Henna
Once your henna has dried and you’ve followed the recommended application time, gently remove the dried paste as instructed.
Avoid washing your hands immediately if your aftercare instructions recommend keeping the area away from water.
Step 7: Let the Stain Develop
Natural henna develops gradually.
Your stain may look lighter or orange immediately after removing the paste. Over the next 24–48 hours, it can deepen into a richer brown shade.
Want a Darker-Looking Stain?
Remember these simple tips:
- Follow the recommended henna application time
- Keep the area warm
- Avoid unnecessary water immediately after paste removal
- Follow your henna aftercare instructions