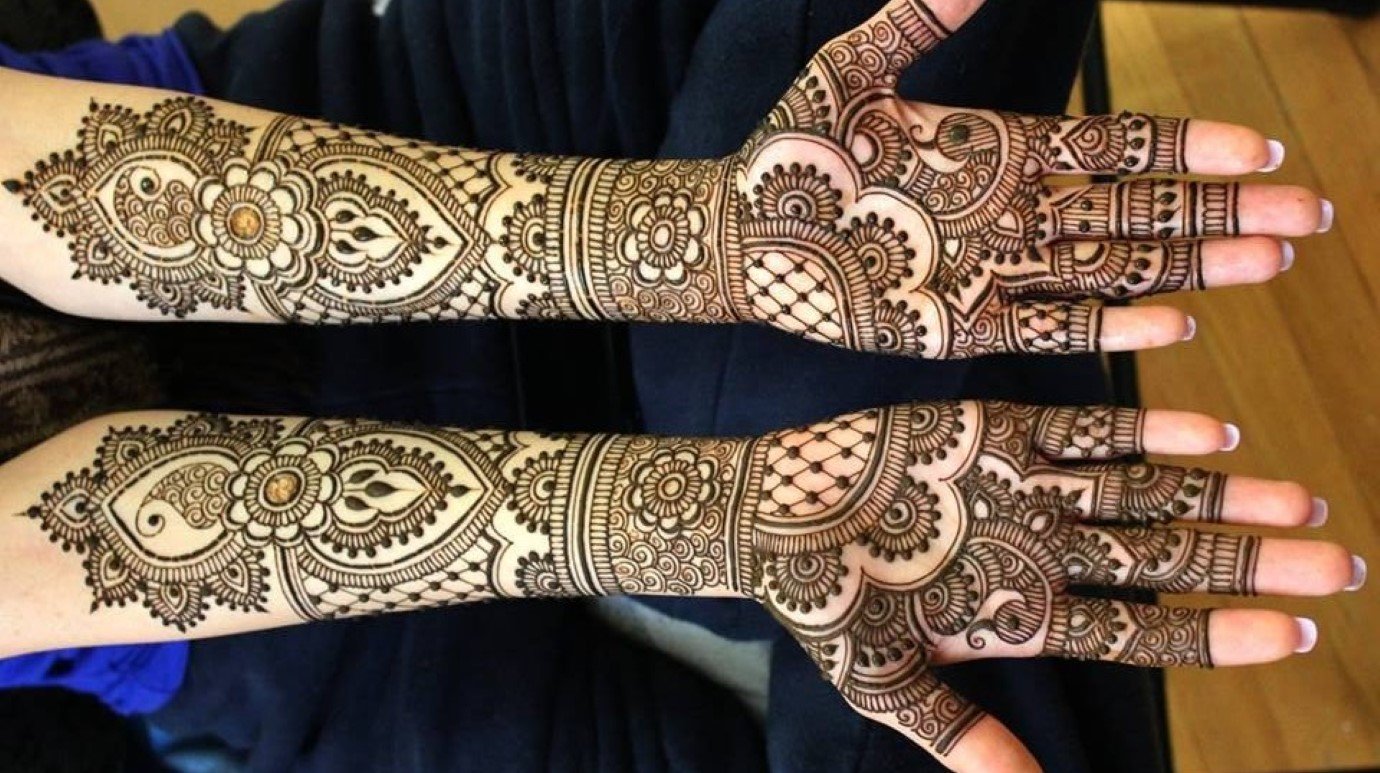
Creating your own henna designs can be a fun and rewarding experience! Whether you’re preparing for a special event or just want to experiment with henna at home, here are some tips to help you get started on your DIY henna journey.
Gather Your Supplies
Before diving into henna art, make sure you have all the necessary supplies:
- Henna Powder: Look for high-quality, natural henna to ensure vibrant color and safe application.
- Lemon Juice: This is essential for mixing with henna to activate the dye.
- Essential Oils: Oils like eucalyptus or tea tree help deepen the color and improve the consistency.
- Henna Cones: You can either buy pre-filled cones or make your own using parchment paper.
- Design Guides: Print out designs or have some reference images on hand for inspiration.
Mixing the Henna
To create your henna paste:
- Sift the henna powder into a bowl to remove any lumps.
- Gradually add lemon juice until the mixture is smooth and thick.
- Add a few drops of essential oil to enhance the color and scent.
- Cover the bowl with plastic wrap and let it sit for 6-12 hours, allowing the dye to release.
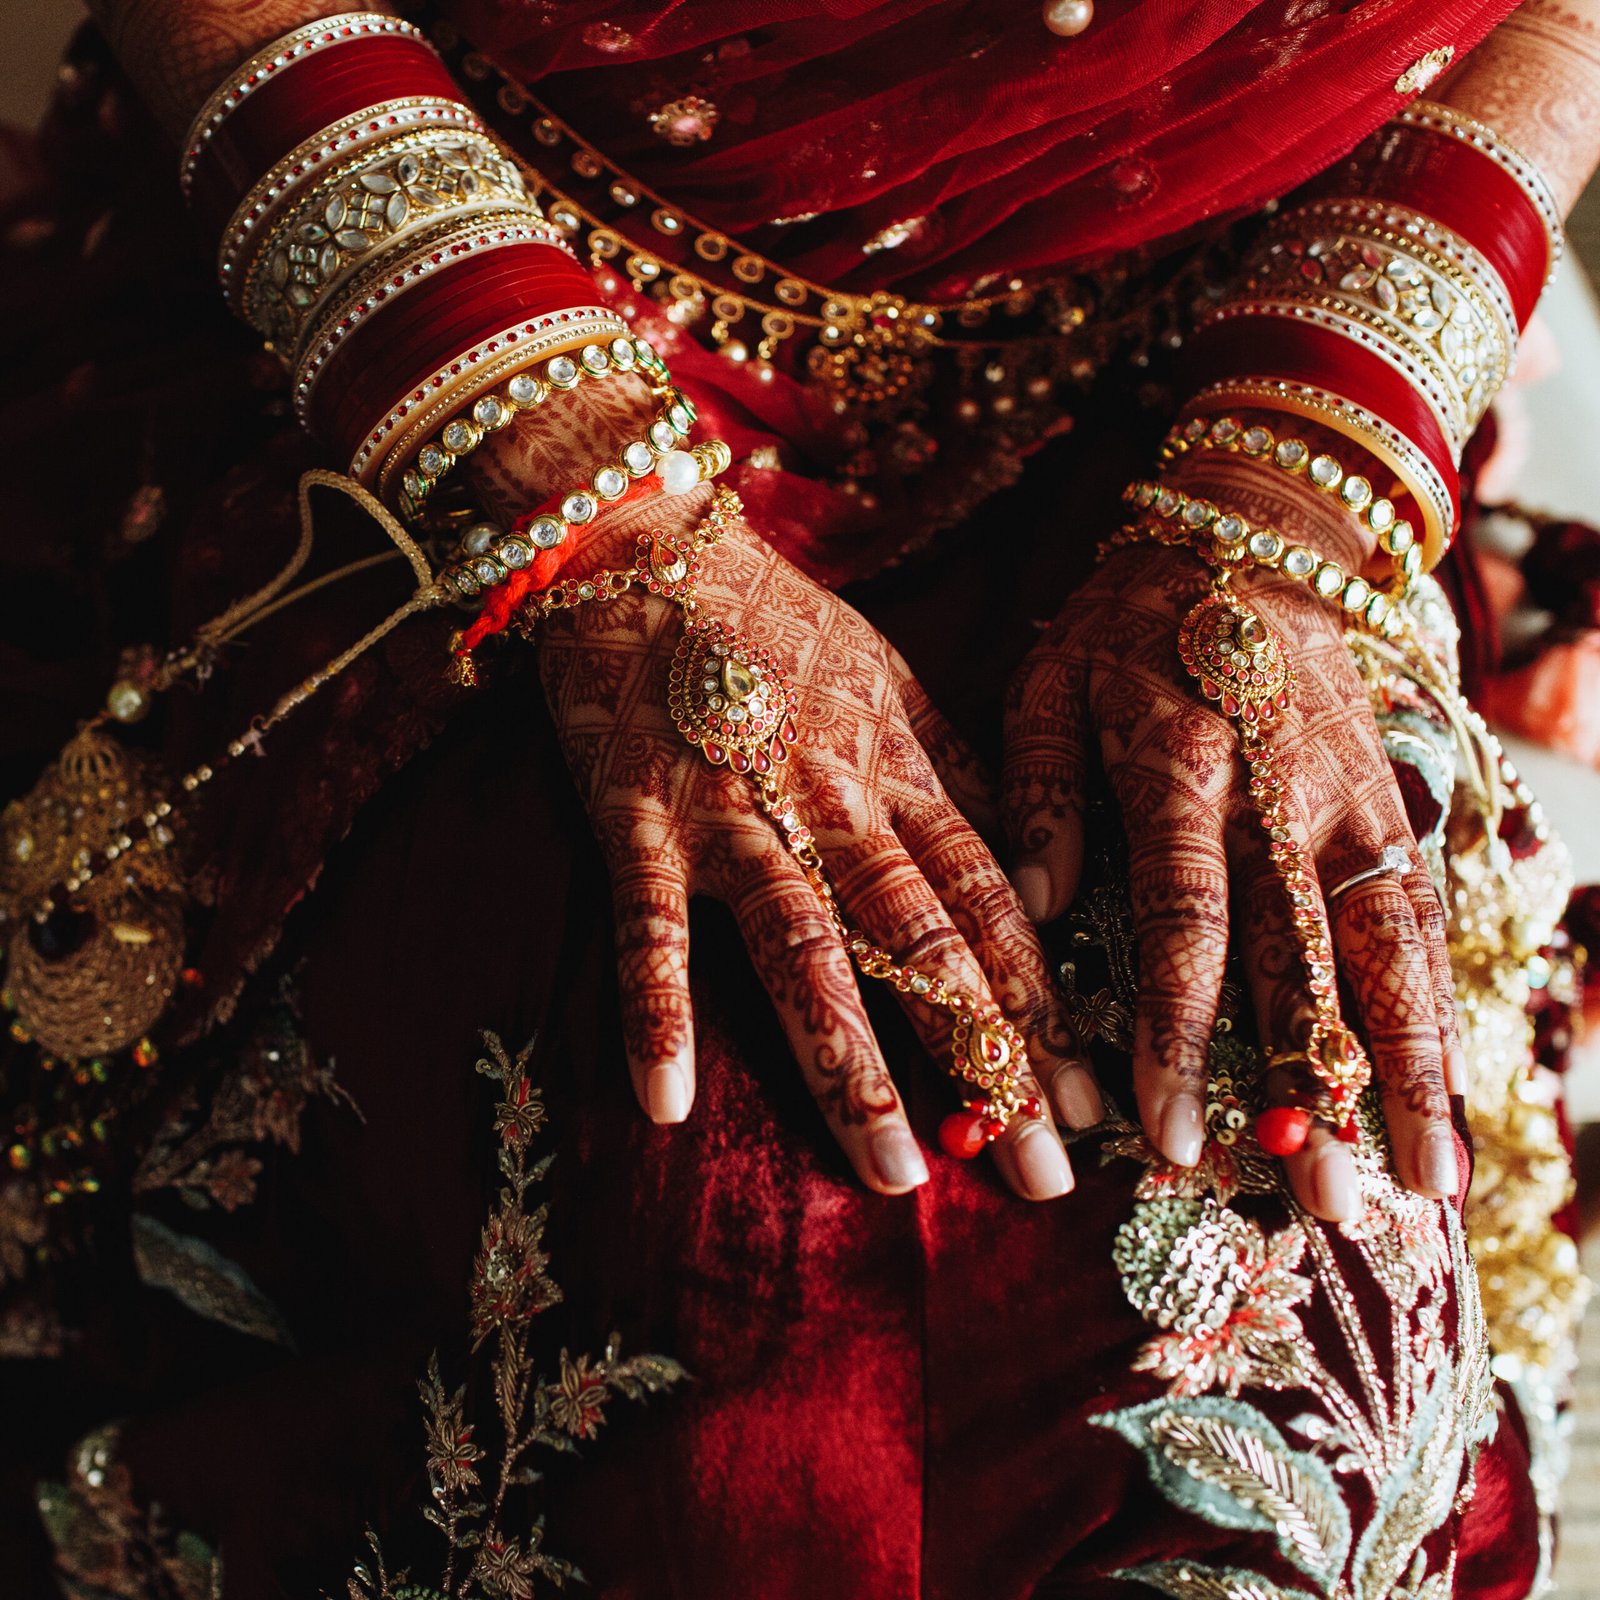
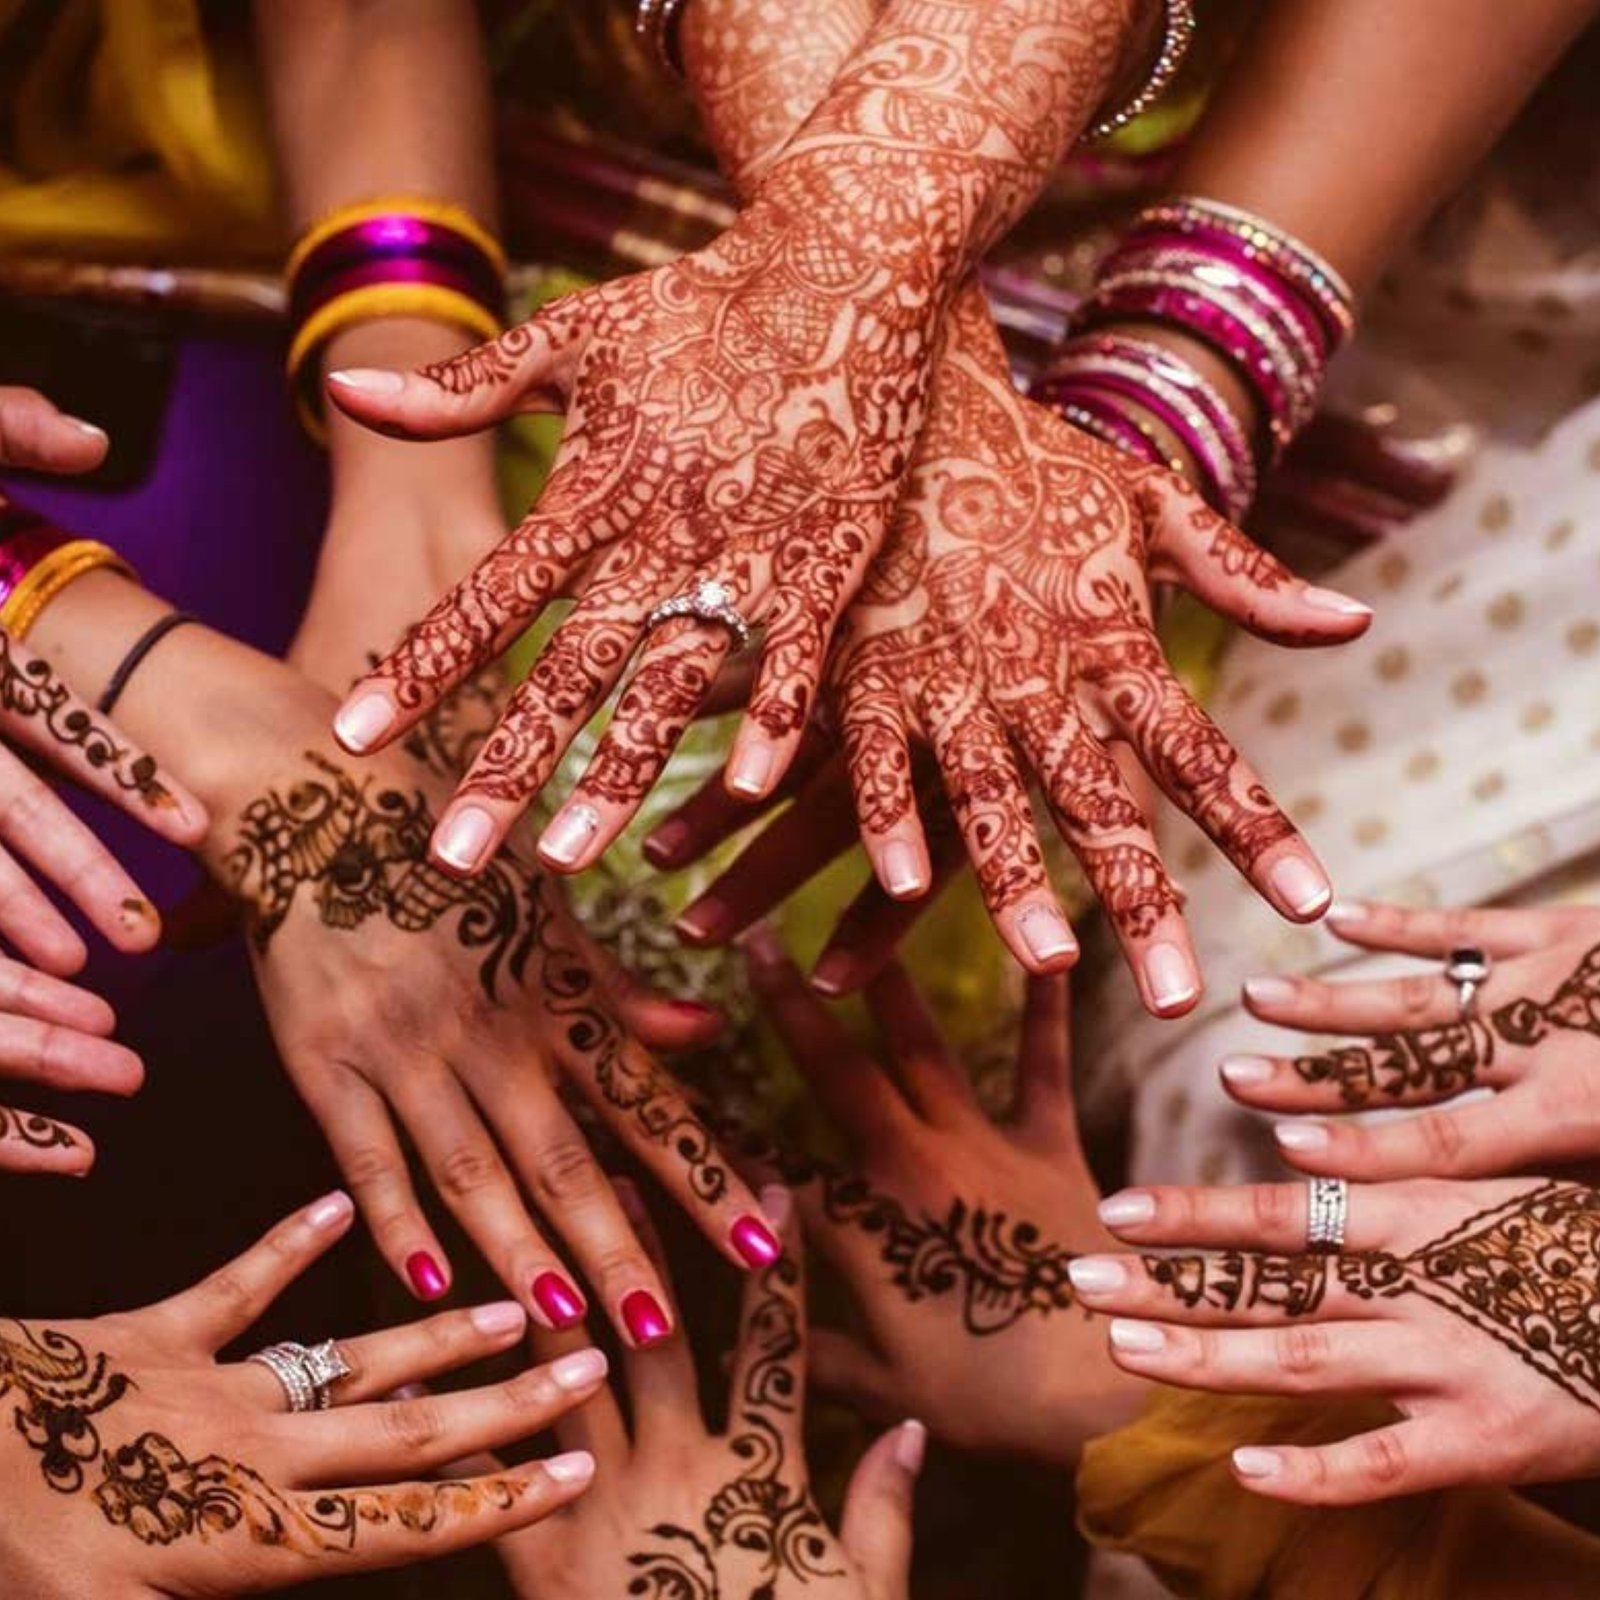
Unleash your creativity with DIY henna—transform simple steps into stunning designs and enjoy the art of personal expression.


Creating Your Designs
Once your henna is ready, it’s time to get creative:
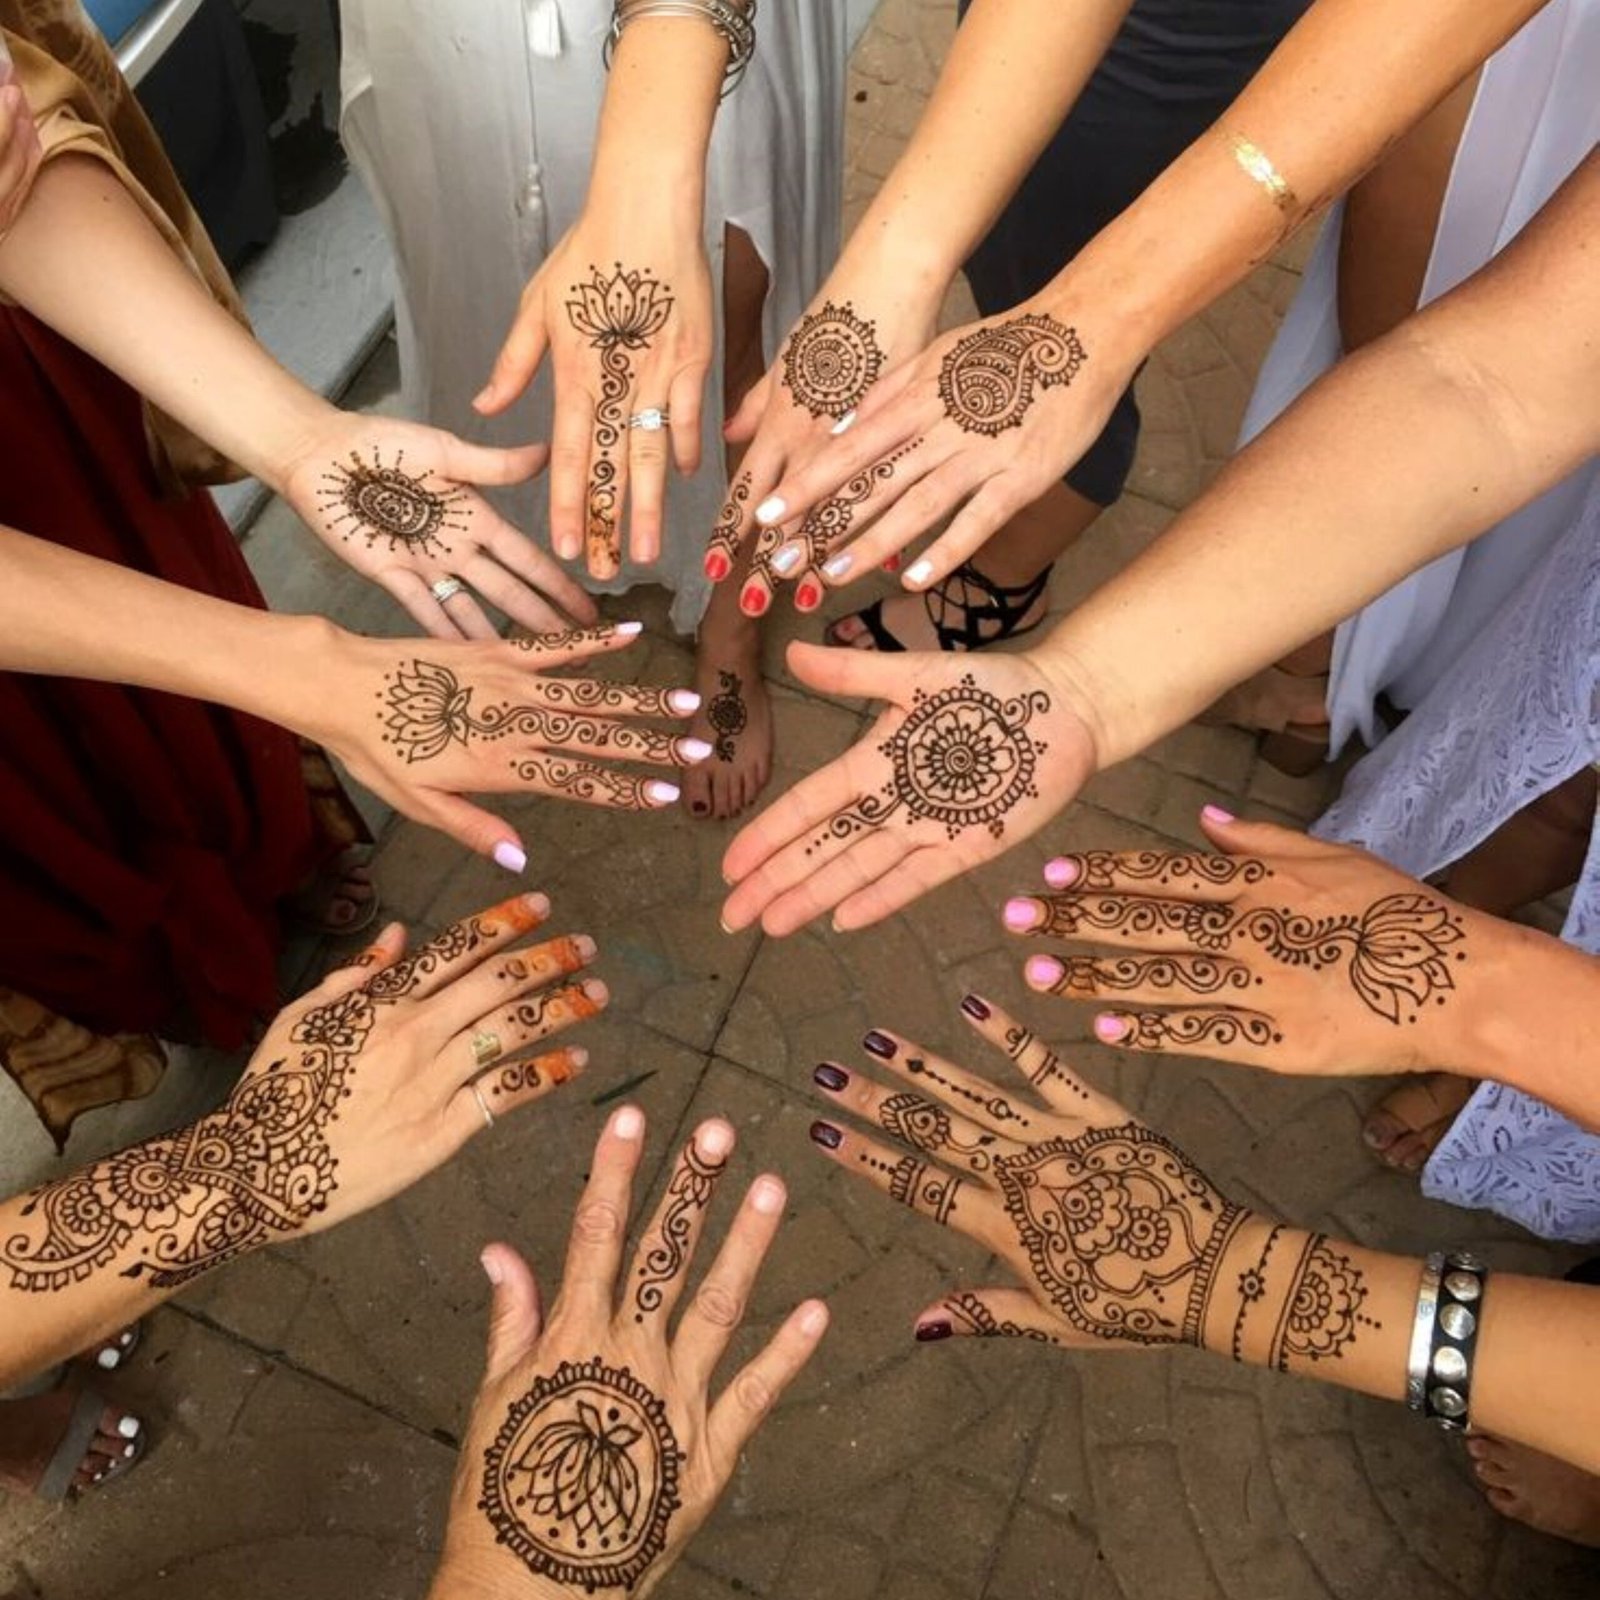
- Start Simple: If you’re a beginner, start with simple designs like dots, swirls, and basic flowers. As you gain confidence, you can experiment with more intricate patterns.
- Practice on Paper: Before applying henna to your skin, practice your designs on paper to get comfortable with the application technique.
- Use Stencils: For a more precise look, consider using stencils. These can help you create clean and consistent designs.
Applying Henna
When you’re ready to apply henna to your skin:
- Clean the area thoroughly and pat it dry.
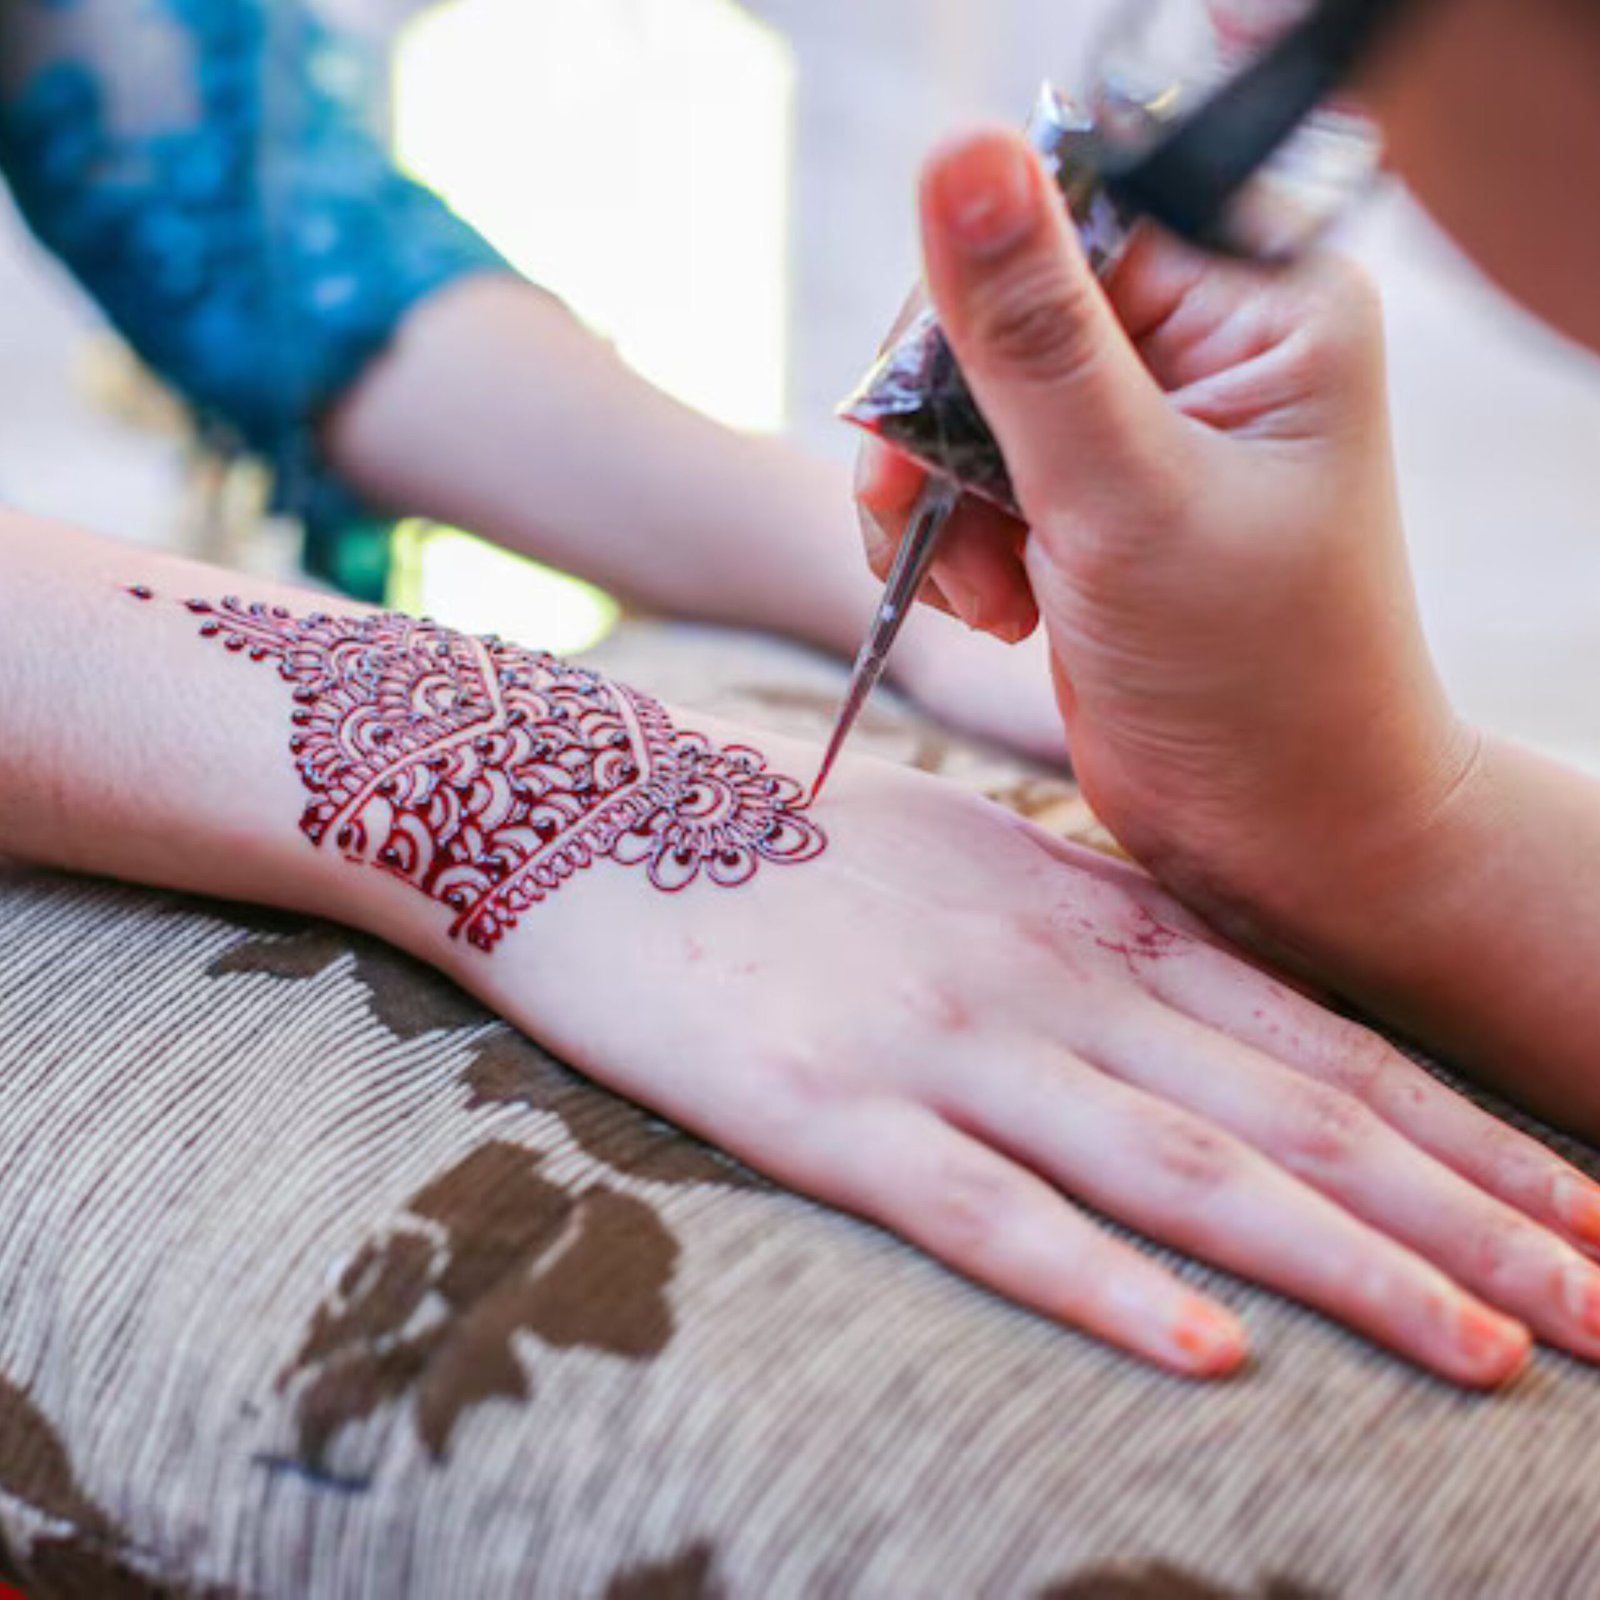
- Use a steady hand to apply the henna in your desired pattern. If you're using a cone, hold it like a pen and squeeze gently as you draw.
- Allow the henna to dry completely for several hours for the best color payoff.
Aftercare Tips
To ensure your henna design lasts as long as possible, follow these aftercare tips:
- Keep it Dry: Avoid washing the area for at least 24 hours.
- Seal it Up: Apply a sugar-lemon mixture (equal parts sugar and lemon juice) to seal in the henna and enhance the color.
- Moisturize: After the design has developed, apply a natural oil (like coconut or olive oil) to keep the henna from drying out.
Enjoy Your Creation!
Creating your own henna designs is a beautiful way to express your creativity. Enjoy the process, embrace any imperfections, and celebrate your unique artistry. Whether it’s for a special occasion or just for fun, DIY henna can be a delightful experience!

